


How to install infrared heater
2023-08-10 18:01:52
Quick and Easy Way to Install Infrared Heater

Infrared heaters are becoming increasingly popular for their efficient and economical heating capabilities. If you have recently purchased an infrared heater or are considering one, it is essential to know how to install it properly. This comprehensive guide will walk you through the step-by-step process of installing an infrared heater.
1. Choose the Perfect Location
The first step in installing an infrared heater is to select the ideal location. Select a space that is central to the room and free from any obstructions. Ensure that the heater is placed at a safe distance from flammable materials such as curtains, furniture, or papers. It is recommended to install the heater at least 12 inches away from any object.
2. Prepare the Area
Prior to installation, make sure that the area is clean and free from any dust or debris. Turn off the power supply to avoid any accidents during the installation process. It is also important to check the electrical outlet to ensure that it is properly grounded and can handle the wattage of the infrared heater.
3. Mount the Heater
Most infrared heaters come with a wall mounting bracket or stand. If you prefer wall mounting, mark the position where you want to install the brackets and ensure that they are level. Use screws and anchors suitable for the wall type to securely mount the brackets. If you prefer the stand option, assemble it according to the manufacturer's instructions and place it in the desired location.
Once the brackets or stand are properly set up, carefully mount the infrared heater, ensuring that it is securely attached. Make sure the heater is level and stable. If your heater comes with a remote control, it is a good idea to test it at this stage to ensure it is functioning correctly.
4. Connect the Wiring
Before proceeding to connect the wiring, ensure that the heater is turned off and unplugged. If your infrared heater requires hardwiring, a professional electrician should be consulted to ensure compliance with electrical codes and safety standards.
If the heater comes with a power cord, connect it to a nearby electrical outlet. Make sure that the cord is not twisted or tangled in any way. Plug it in and switch on the power to supply electricity to the heater.
5. Test the Heater
Once the installation is complete and the heater is connected to the power supply, it's time to test it. Turn on the heater and adjust the settings as desired. Allow the heater to run for a few minutes to ensure that it is working properly and providing the desired level of warmth.
It is important to read and follow the manufacturer's instructions specific to your infrared heater model to ensure proper installation and operation.
Conclusion
Installing an infrared heater can be a straightforward process if you follow the steps outlined in this guide. By choosing the perfect location, preparing the area, mounting the heater securely, connecting the wiring correctly, and testing the heater, you can enjoy the benefits of an efficient and effective heating solution. Ensure to prioritize safety and consult a professional when necessary. Stay warm and cozy with your newly installed infrared heater!
-
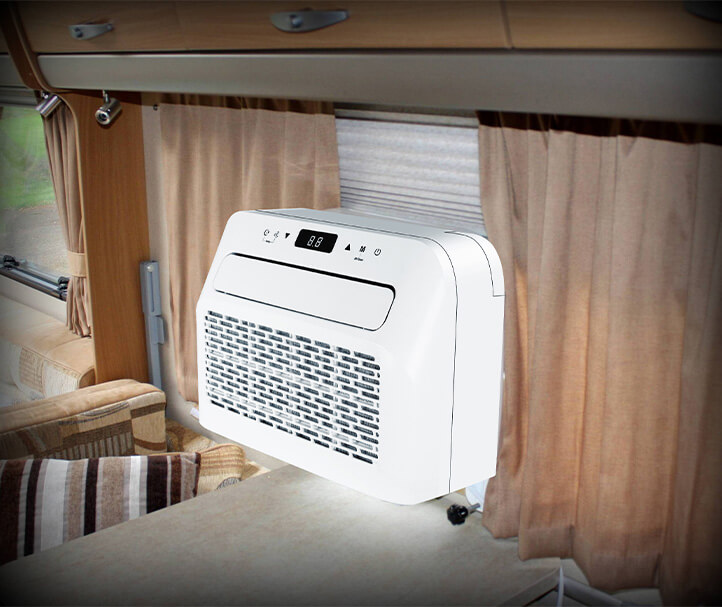
Revolutionizing Comfort: The New Concept
Discover the new concept mobile split caravan air conditioner. Learn about its advanced features, en...
-
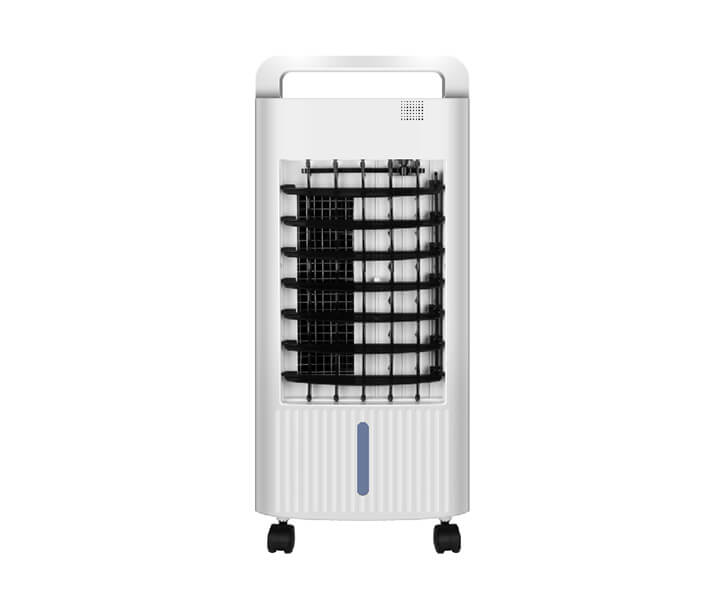
Stay Cool and Comfortable with the 60W E
Discover the benefits of the 60W entry-level air conditioner cooler. Learn about its features, energ...
-
Stay Cool and Connected: The Ultimate Gu
Discover the convenience and efficiency of WiFi APP function window air conditioners. Learn how smar...
-
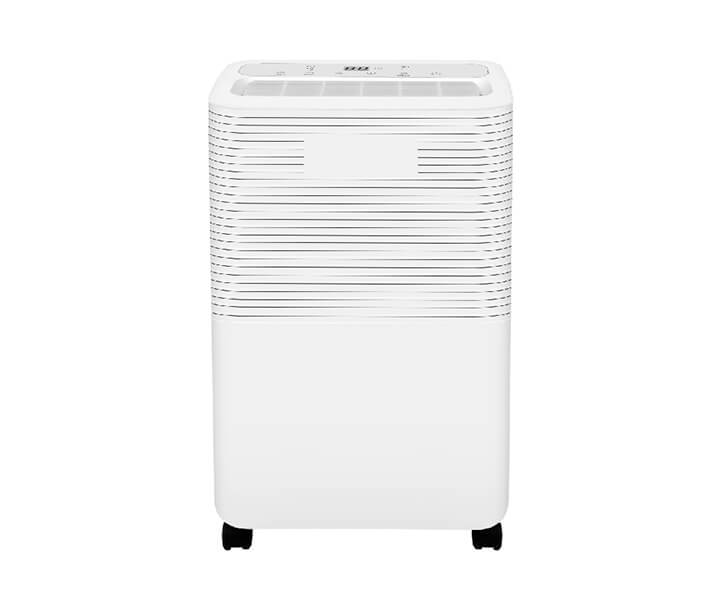
Nordica Entry-Level Home Dehumidifier: Y
Explore the benefits of the Nordica entry-level home dehumidifier. Discover how this efficient and a...
-
Compact and Convenient: The Benefits of
Discover the benefits of removable household dehumidifiers, including portability, improved air qual...
-
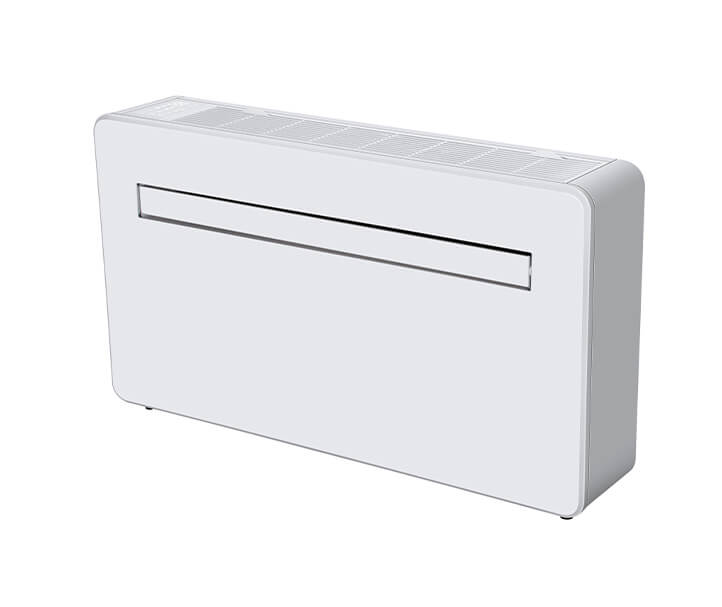
Efficient Cooling Solutions: The Benefit
Discover the advantages of wall-mounted split air conditioners, including energy efficiency, quiet o...
Get the latest price? We'll respond as soon as possible(within 12 hours)