


RV air conditioner installation precautions and step analysis
2023-07-13 14:01:39
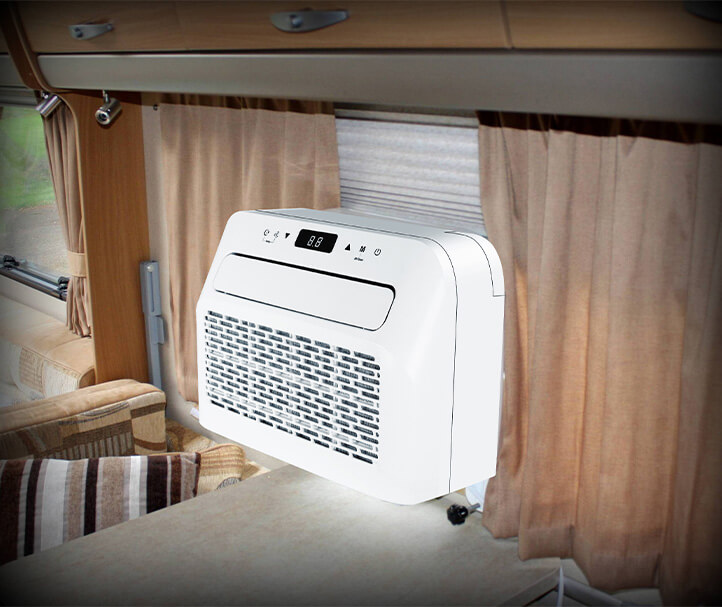
Installing an RV Air Conditioner: Key Considerations

When it comes to installing an air conditioner in your RV, there are several crucial precautions and steps to keep in mind. Proper installation ensures optimal performance and long-term reliability. Here are some important factors to consider before you begin the installation process.
Choosing the Right Air Conditioner
Before you start the installation, ensure that you have selected the right RV air conditioner for your specific needs. Consider factors such as cooling capacity, power requirements, and compatibility with your RV's electrical system. Refer to the manufacturer's guidelines and seek professional advice if needed.
Preparing the RV
Ensure that your RV is adequately prepared for the air conditioner installation. Clean the roof surface and remove any dirt or debris that could interfere with the installation process. Check the roof condition and make necessary repairs or reinforcements if required. Additionally, ensure that the roof can support the weight of the air conditioner unit.
Electrical and Wiring Considerations
Before proceeding with the installation, it is crucial to assess your RV's electrical system. Ensure that it can handle the additional power requirements of the air conditioner unit. Consult an electrician if necessary to ensure proper wiring and compatibility with your RV's electrical system.
Step-by-Step Installation Analysis
Now that we have discussed the crucial precautions, let's examine the step-by-step process for installing an RV air conditioner.
Step 1: Roof Preparation
Start by locating the ideal position for the air conditioner unit on the roof of your RV. Ensure that there is enough space for installation and that it is in a central location for optimal cooling. Clean the roof surface thoroughly and remove any dirt or debris.
Step 2: Installing the Mounting Bracket
Attach the mounting bracket to the roof of your RV using appropriate screws or hardware. Ensure that the bracket is securely fastened and can support the weight of the air conditioner unit. Double-check for stability.
Step 3: Placing the Air Conditioner Unit
Position the air conditioner unit on the mounting bracket carefully. Follow the manufacturer's instructions for proper alignment and secure it using the provided hardware. Double-check that the unit is stable and well-positioned.
Step 4: Electrical Connections
Connect the electrical wiring of the air conditioner unit to your RV's electrical system. Follow the manufacturer's guidelines and ensure that all connections are secure and properly tightened. Test the electrical connections to ensure they are functioning correctly.
Step 5: Testing and Final Checks
Once the installation is complete, perform a thorough testing of the air conditioner unit. Check for any leaks or abnormal noises. Adjust the settings as per your preference and ensure that the unit is cooling efficiently. Double-check all connections and fasteners for tightness.
Conclusion
Installing an RV air conditioner requires careful planning, attention to detail, and adherence to crucial precautions. By choosing the right air conditioner, preparing the RV adequately, and following a step-by-step installation process, you can ensure a successful and reliable installation. Remember to consult professional assistance if needed and enjoy the comfort of your properly installed RV air conditioner.
-
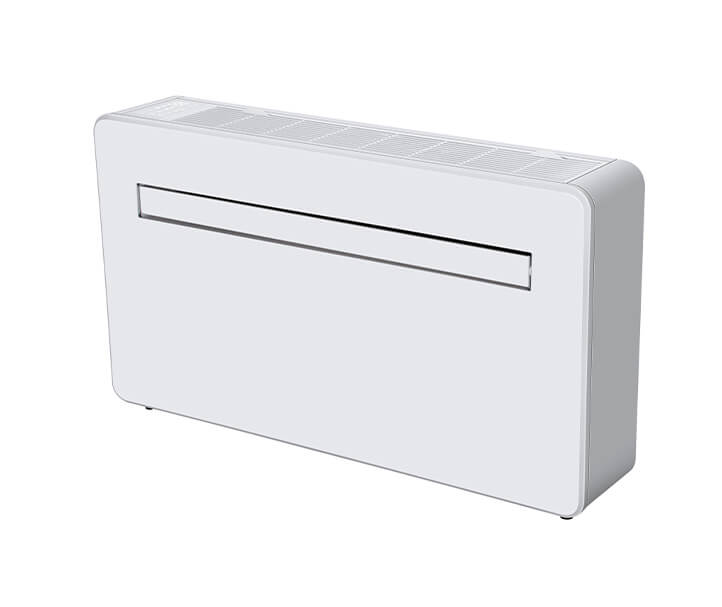
Revolutionizing Comfort: The New Concept
Discover the new concept mobile split caravan air conditioner. Learn about its advanced features, en...
-
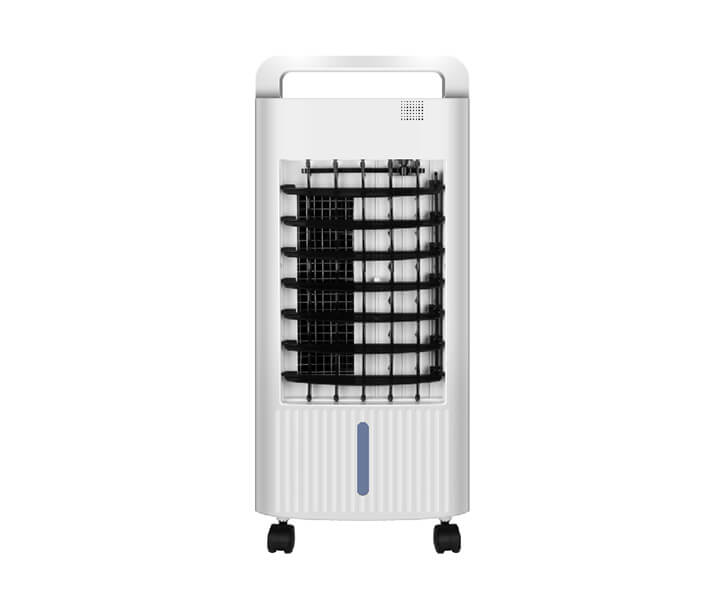
Stay Cool and Comfortable with the 60W E
Discover the benefits of the 60W entry-level air conditioner cooler. Learn about its features, energ...
-
Stay Cool and Connected: The Ultimate Gu
Discover the convenience and efficiency of WiFi APP function window air conditioners. Learn how smar...
-
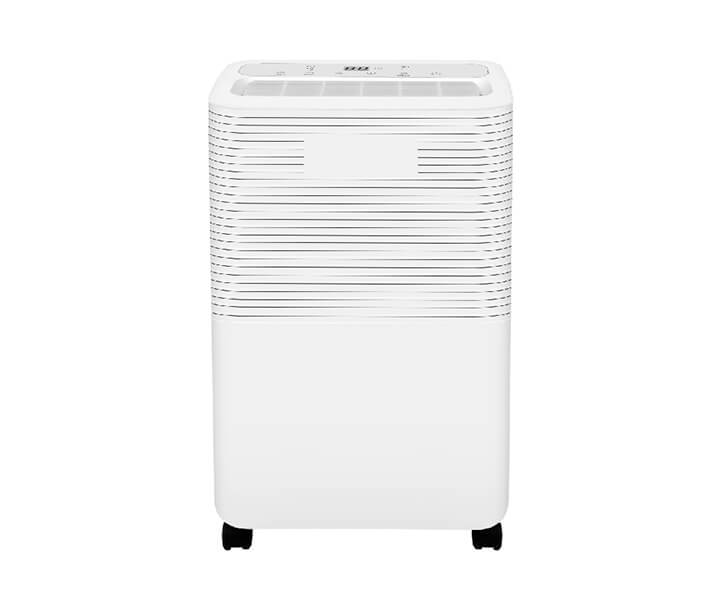
Nordica Entry-Level Home Dehumidifier: Y
Explore the benefits of the Nordica entry-level home dehumidifier. Discover how this efficient and a...
-
Compact and Convenient: The Benefits of
Discover the benefits of removable household dehumidifiers, including portability, improved air qual...
-
Efficient Cooling Solutions: The Benefit
Discover the advantages of wall-mounted split air conditioners, including energy efficiency, quiet o...
Get the latest price? We'll respond as soon as possible(within 12 hours)